


Hey, what's up?
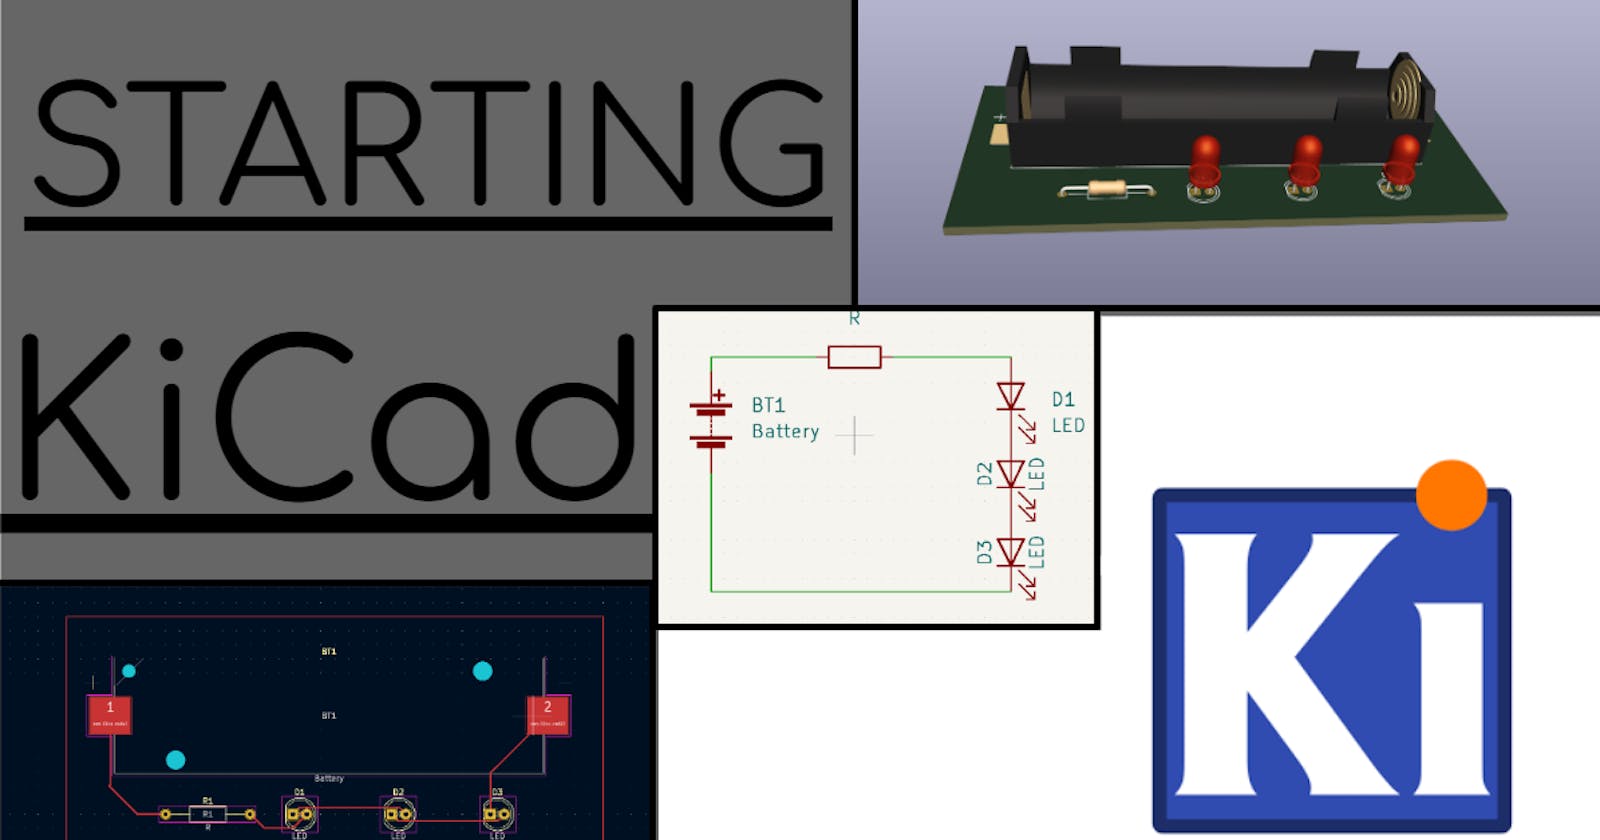
I am here to give some updates on our upcoming Angel Ring.
As you might have seen last time, the angle ring has a lot of color sensors. The photo I used as an example had 20 sensors and LED, which is a lot. My point is, if we were to make the angel ring, we would need to connect many, many sensors with a soldering iron and etc. Doing that will be very challenging and time-consuming. So, we chose to use KiCad and Fusion 360.
KiCad is an "Open source software suite for Electronic Design Automation." In short, you can make boards without the use of soldering iron. Obviously, it will cost money to ask for a design manufacturer to make it and will take time to arrive, but it still saves a lot of work. Fusion 360 is a 3D printer software that will be useful for making small to medium-sized parts for our robots. I will be talking about Fusion 360 in the next post.
For KiCad, I started watching some tutorials on YouTube. For practice, I made a circuit board consisting of 1 battery case, 1 resistor, and 3 LED lights. It took time to download KiCad, learn the basic controls, and make the circuit itself. On top of that, KiCad crashed a lot of times for some reason(maybe I should fix my bad WiFI already).
In the end, I was able to finish it, and here are some images.
This is what I call the "sketch" version:
![first project [first project_] — 回路図エディター 2022_09_11 0_08_29.png](https://cdn.hashnode.com/res/hashnode/image/upload/v1662827656794/kOHnEwlHx.png?auto=compress,format&format=webp)
and this is what I call the "code" version: (Caution: these "sketch" and "code" are just names that I thought of)

and this is the 3D version:
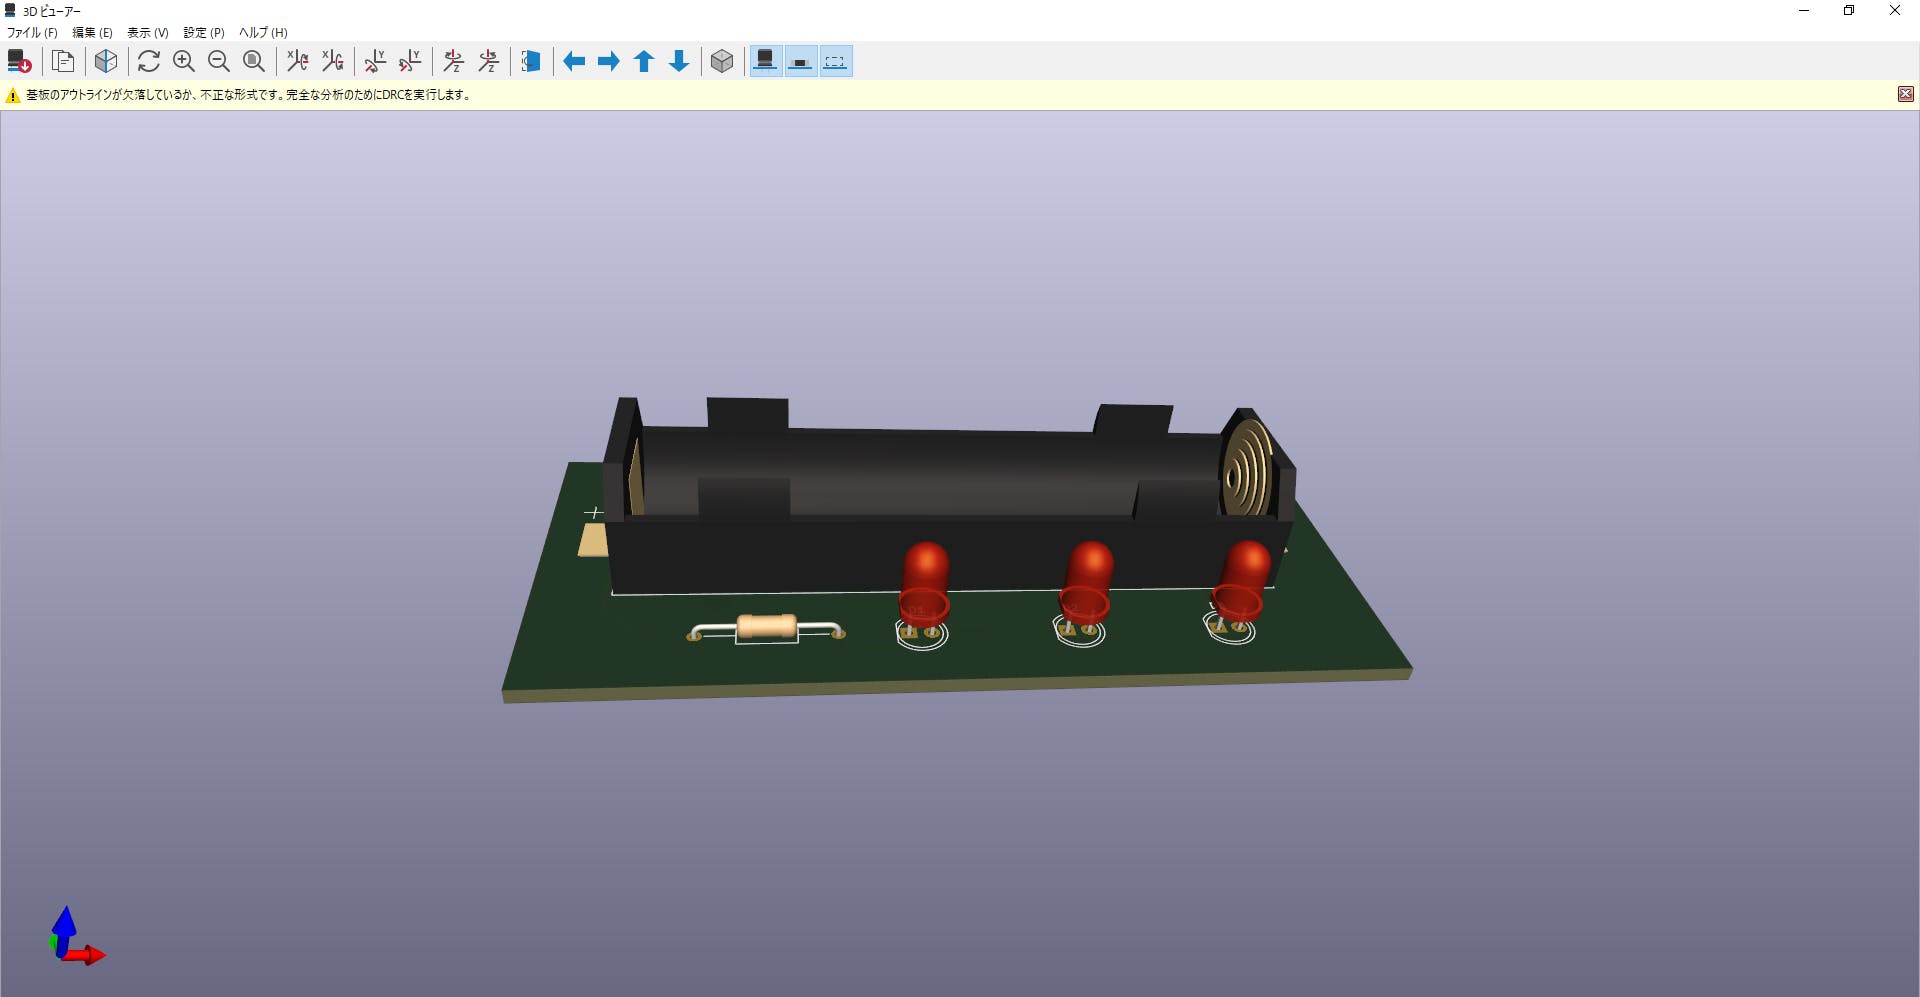
It is quite simple and it looks like a middle school science project, but I think it is not bad for an absolute beginner like me. Except for the crashes, coding was actually quite fun, and I enjoyed it. I am looking forward to making more boards.
This is a short one, I know.
Thanks for reading,